
Moho Animation Software Testing
This last week I’ve been taking a break from my current project (Animated Short Film) and spent some time learning about what I can do in Moho 14 Pro. I have been reading the manual and tutorial guides in my free time to get a grasp of everything it can do. It also helps me know how to plan out something I want to make, but ultimately I have not had enough time put into making anything in it myself, just applying some things I learn into an Untitled project.
So lately I’ve been working on some projects just for the sake of tinkering and learning. With just these couple projects I have already felt like I’ve been rigging artwork up for days. And that's a good thing because now I know how to set up rigs on different types of artwork and how to problem solve them when something goes wrong.
Adventure Kid Character
Finding Artwork
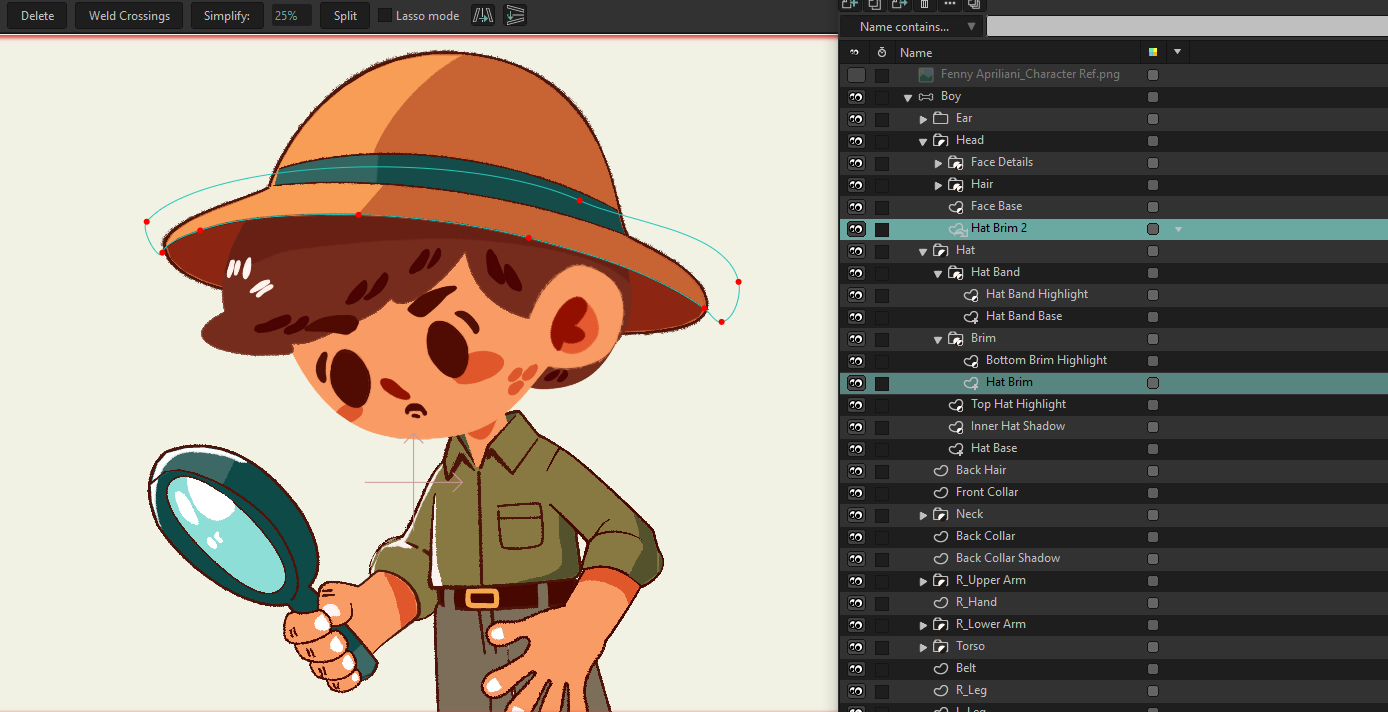
The first thing I started to mess with was recreating and rigging artwork all inside of Moho, this means setting up artwork as a tracing image and re-drawing everything in the app. This had its own challenges as I haven't done any drawing in it really so I had to think about how to recreate the artwork but still plan for it to be rigged and animated.
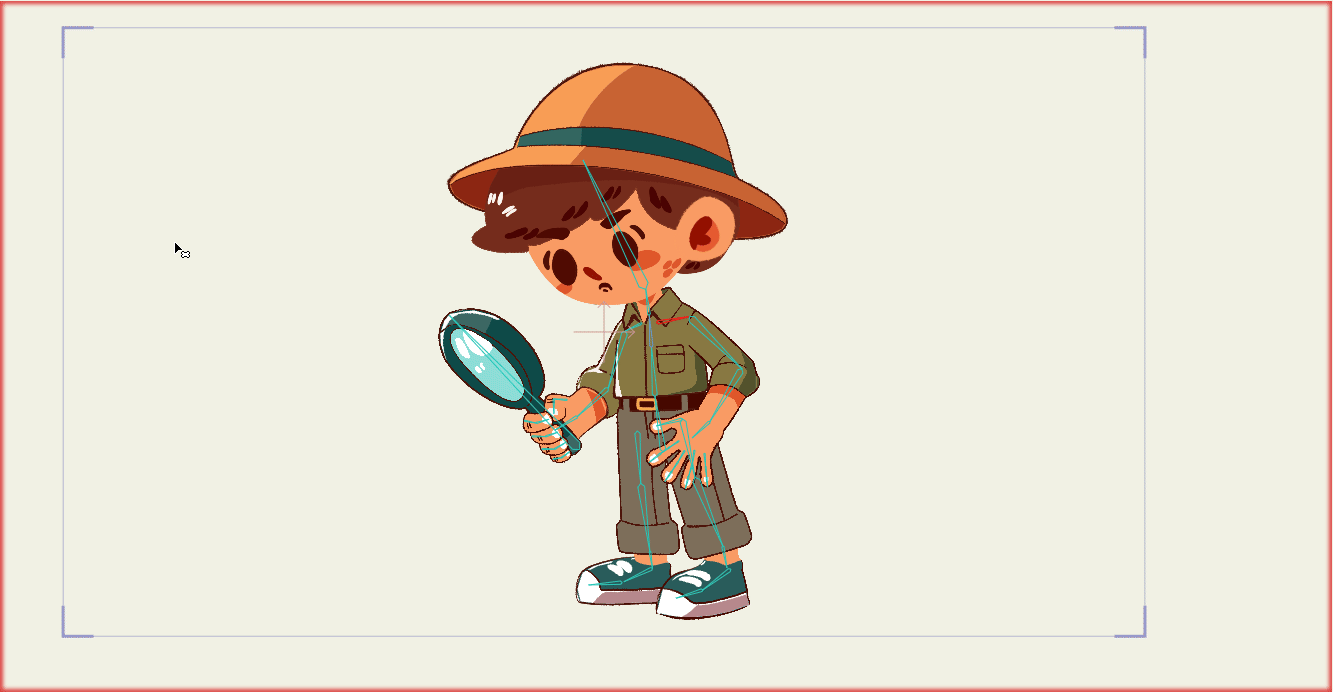
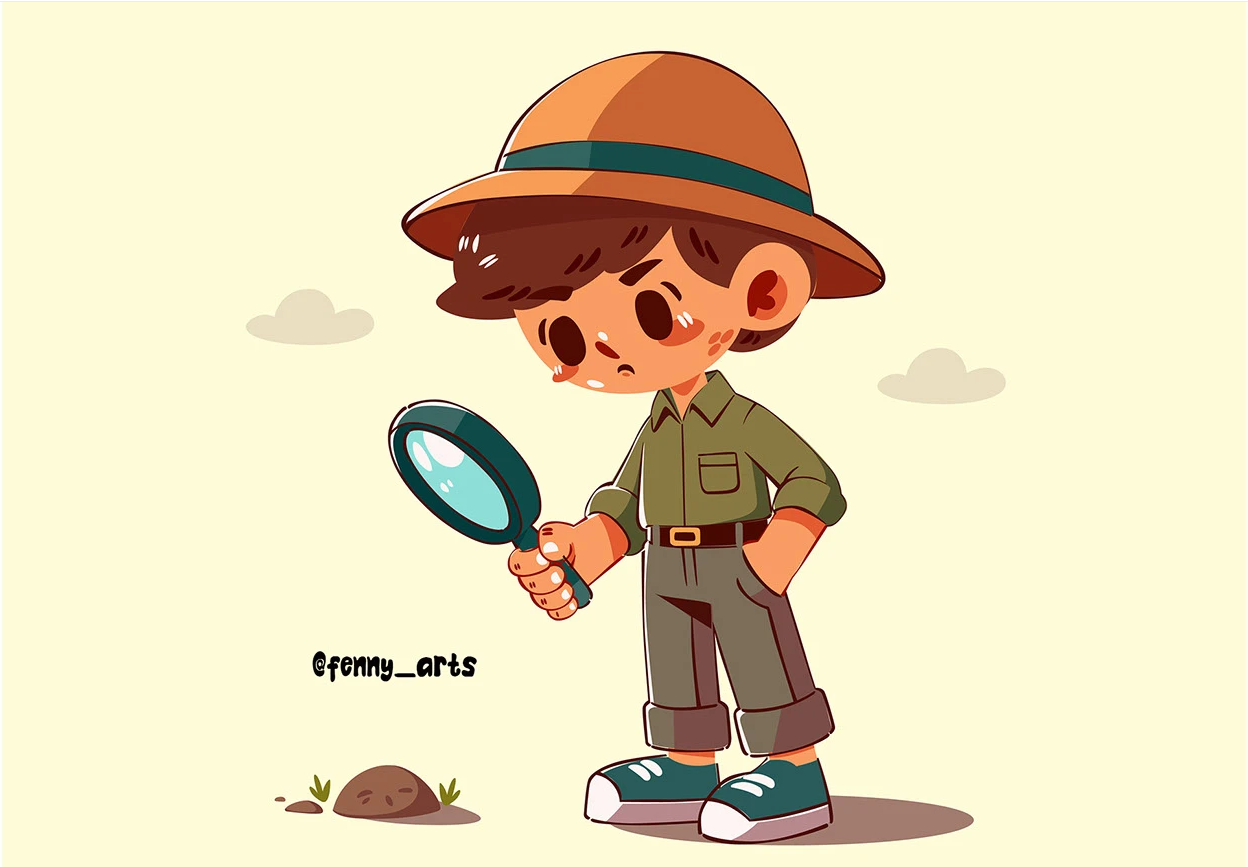
I found this great character design on Behance by Fenny Apriliani I loved the simple shapes but complex details of the character and thought that would look great animated. I took some liberty and changed some things that I thought would help me animate later on like taking his hand out of his pocket. I ended up going to Vecteezy and found a hand in a similar style as the original artwork. While I was building the character I got a little bit sidetracked messing with styles of fill and line work by adding the texture to them I found that I can give both the fill and stroke the same color and that way I could have the texture edges that the strokes can have.

Problem solving
Redrawing this character in Moho presented an interesting problem. I wanted the hat to be able to move on its own so it could rattle around, but the problem is the hat is one piece of art. But his head has to be behind the front brim, but in front of the back brim to give the illusion that his head is inside of the hat. Well that's no problem using the front of the brim hat shape as a mask for the head hair. But the hat brim is already inside of the hat folder and would need to also need to be in the head folder as well. I would then need to animate two shapes at the same time every time I wanted to animate it. Well the solution for this is creating a reference layer duplicate of the brim shape that lives in both the hat folder and the head folder.
I got to the end of this finishing up the artwork and started some basic rigging. By the time I was finished rebuilding the art and attaching the vectors to bones on a per point basis, I was a bit burned out and didn't have the motivation to setup any smart bone actions or even animating it, but I learned a very solid foundation on how the masking structure works and setting up reference layers.
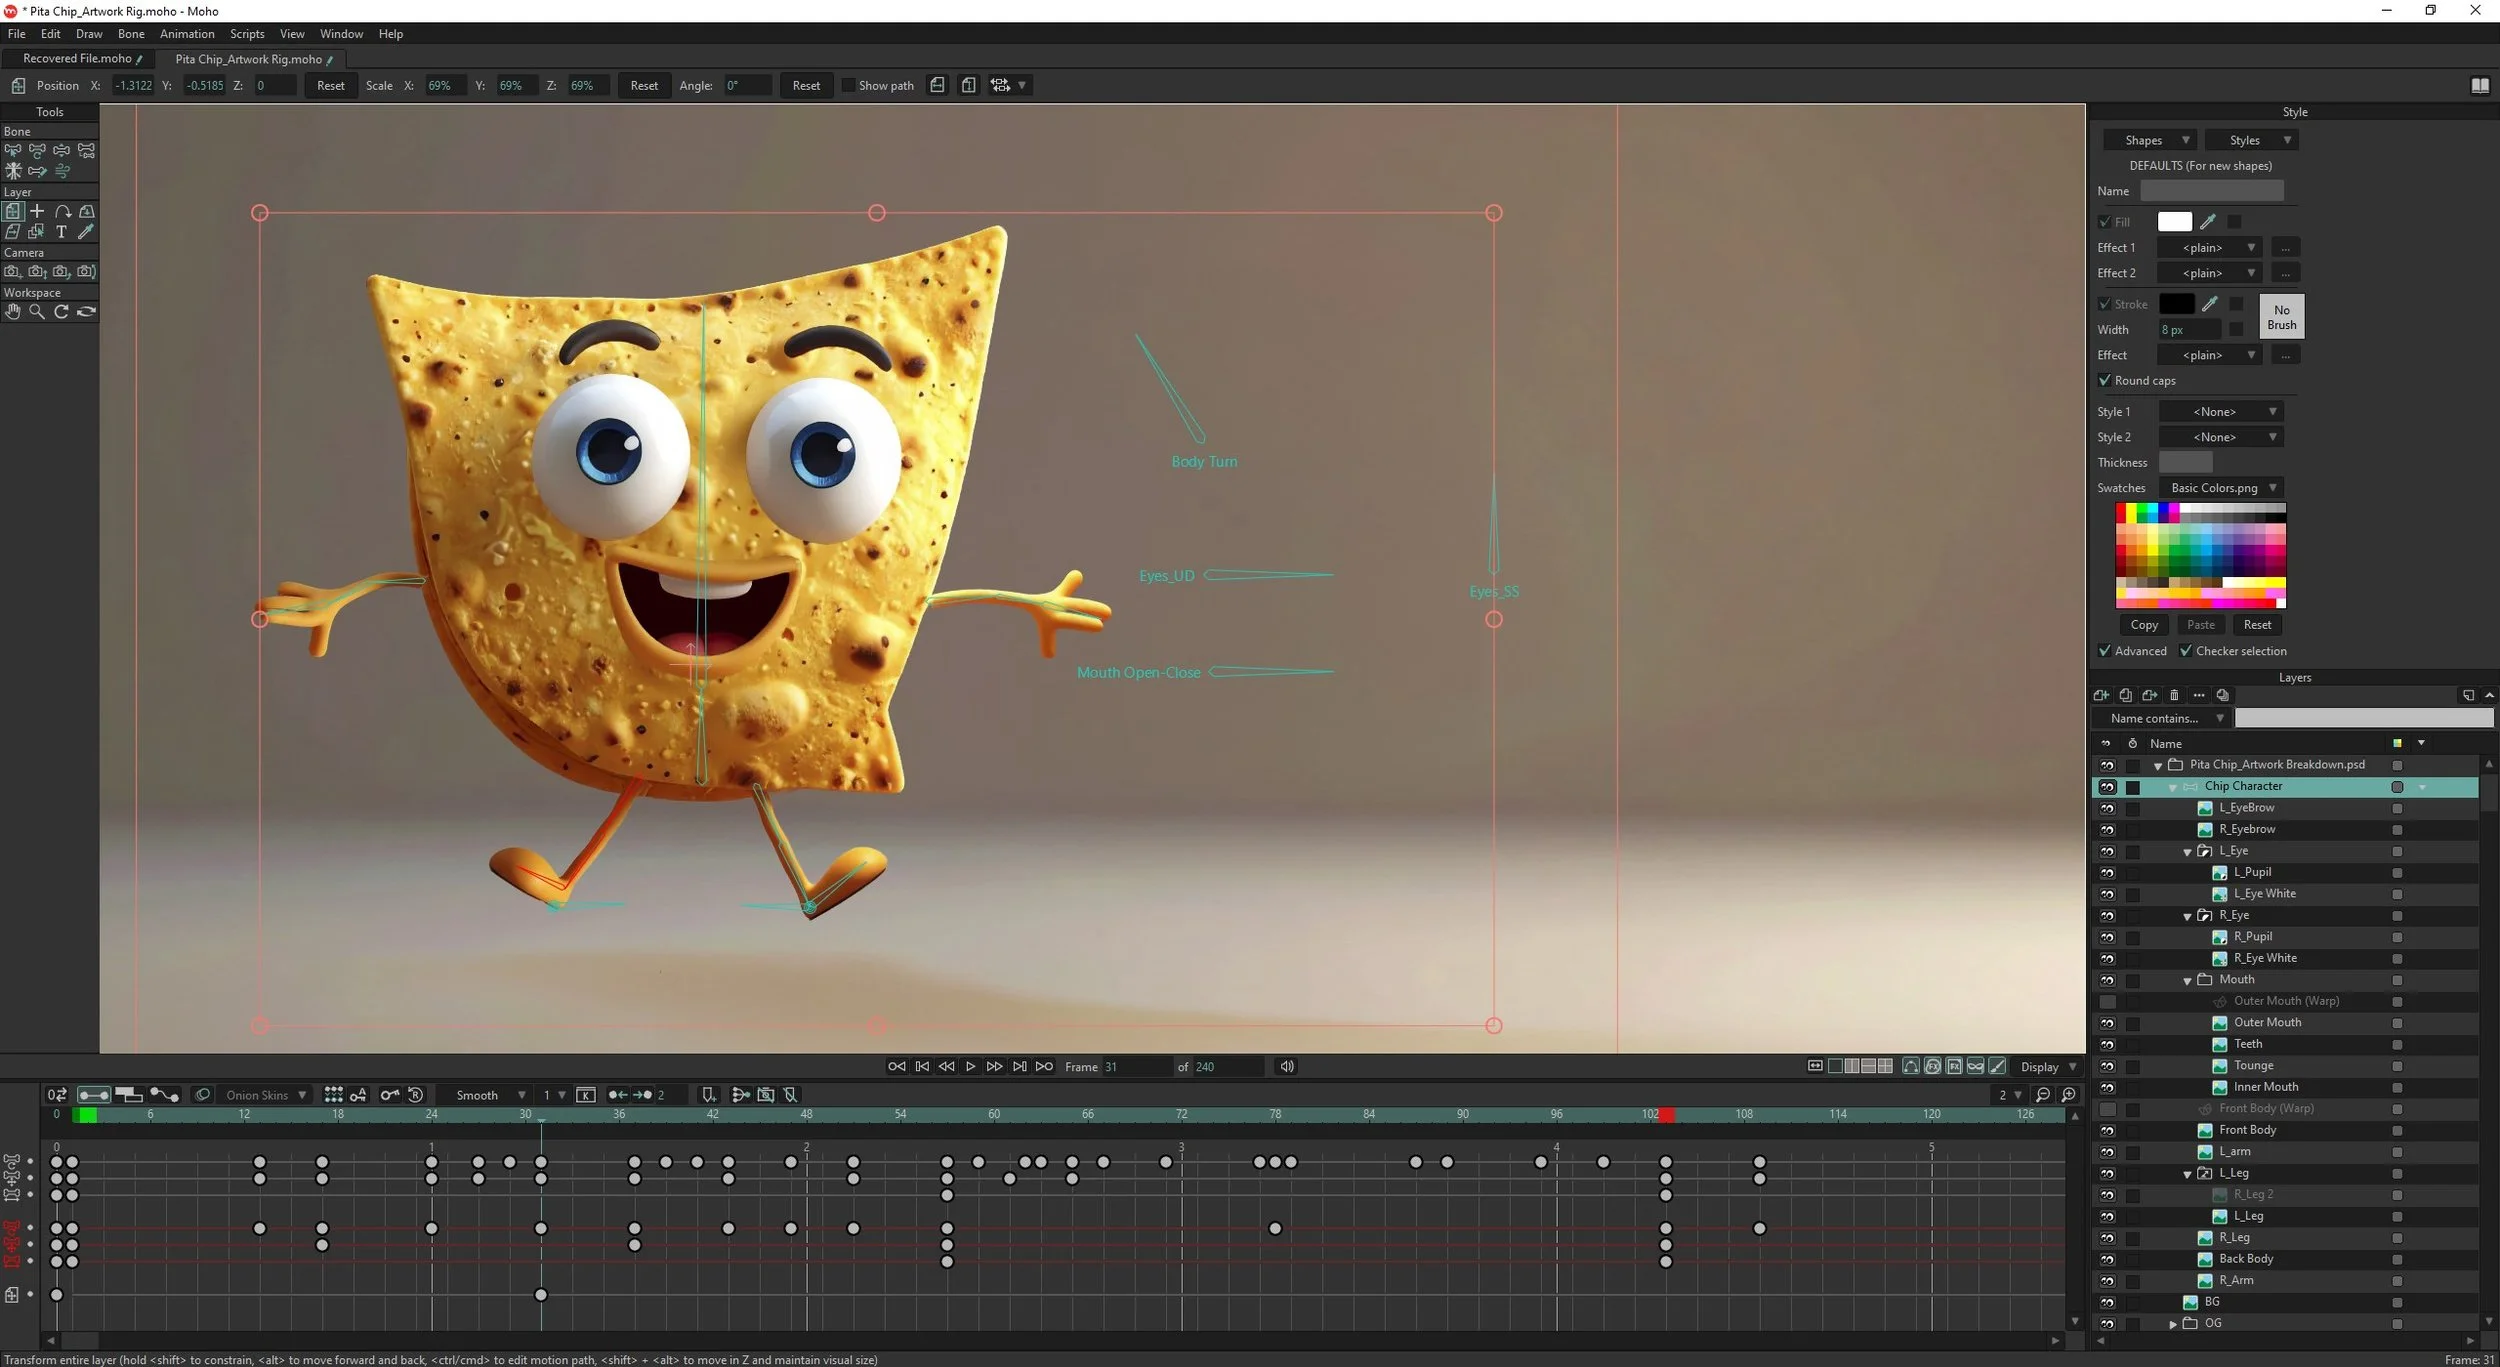
Pita Chip Character
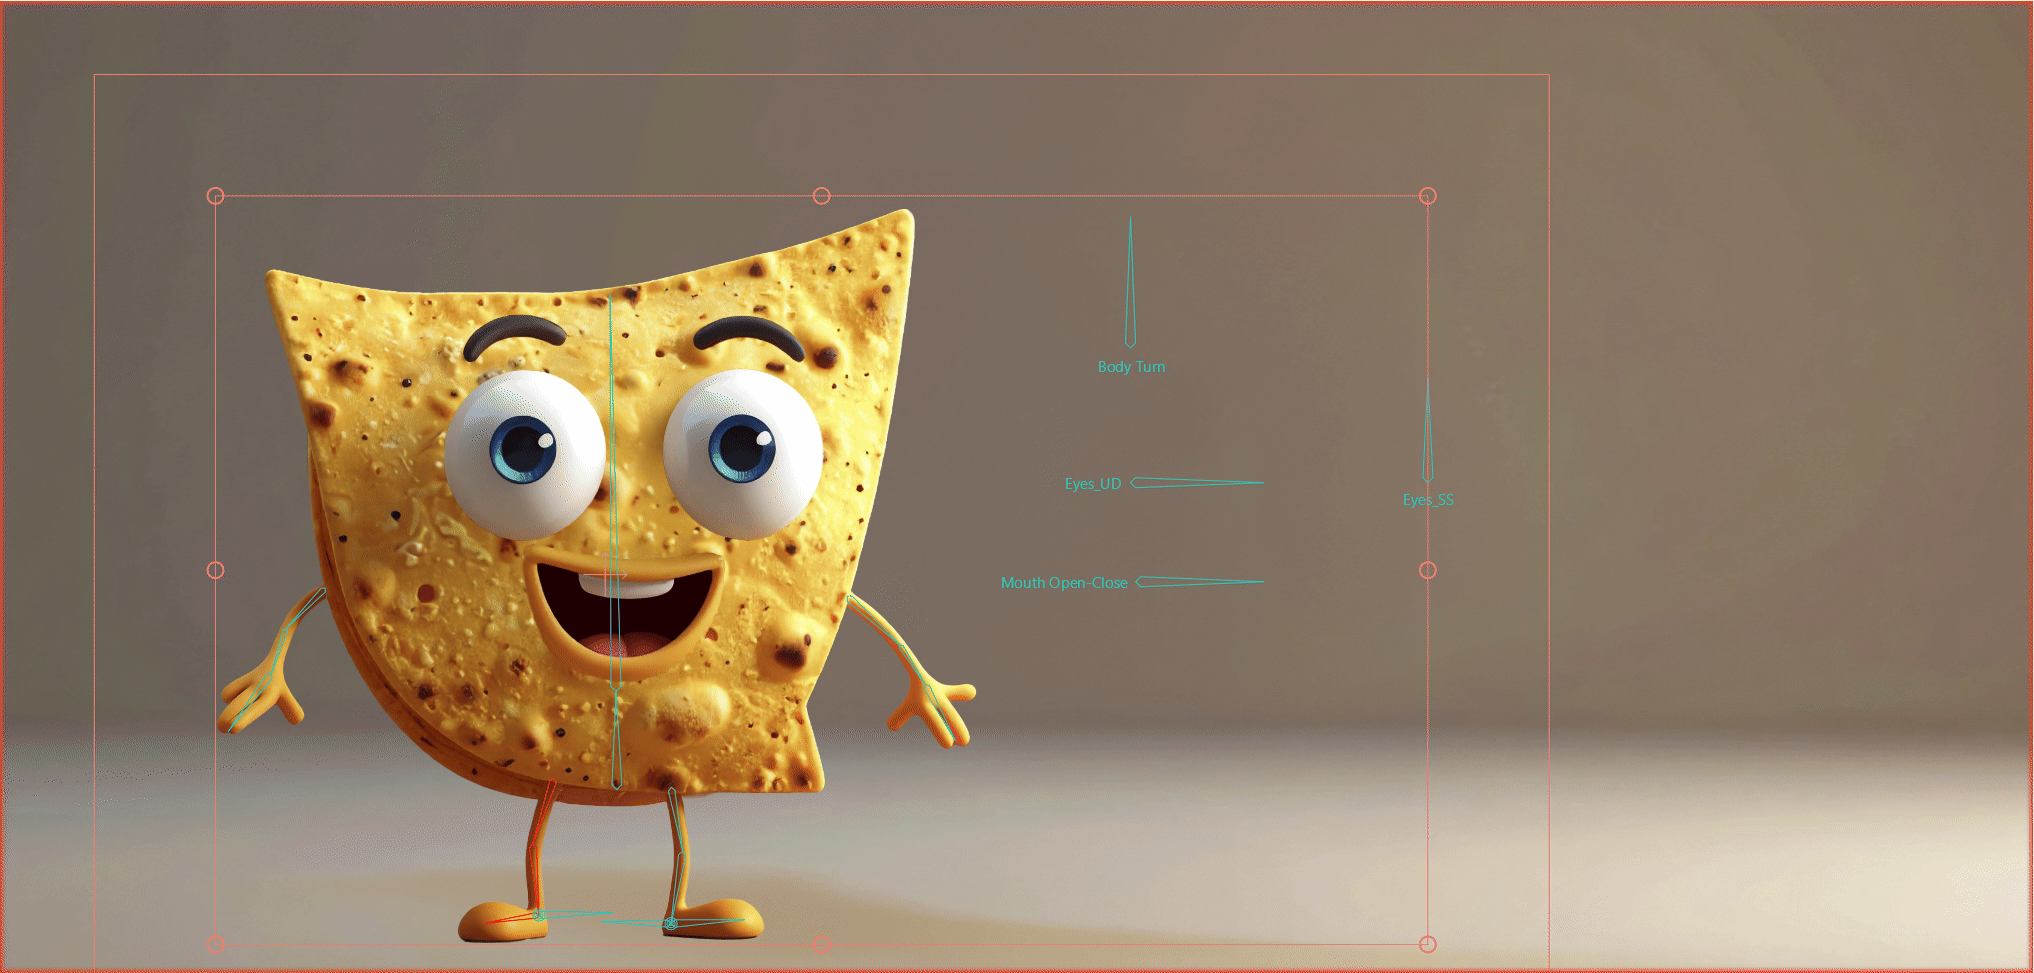
After experimenting with an all vector character built inside of Moho I was eager to see what the process was like for rigging and animating a character built from a photoshop file using PSD layers.
This also served as a proof of concept for another project I am working on. I wanted to see if I could take a character that looks rendered in 3D and break it apart in layers to animate in Moho instead of having to animate all in 3D, where I have little experience animating characters in.
Adobe Firefly Generation
I went to Adobe Firefly to generate some character options of the style I wanted to emulate. I settled on these 2 as possible options and picked one of these to move forward on. Along with working with a PSD layered file for the artwork I also wanted to experiment with keyframe animation specifically on 2s, to give that stop motion animation feel.


Photoshop Layers
Once I chose the character I went to photoshop to cut out all the individual layers of the character and use Generative Fill to fill in the areas behind the mouth, eyes and eyebrows so they will just show chip texture when the facial features move.


Mesh warp body turn
When all of the pieces were in Moho I began working on some form of animation. I didn't have a plan for what the chip would do, but it felt very much like a guy we would see in a cereal commercial next to a bowl and they are usually jumping. So I made him jump.
There are still some kinks to figure out about the keyframes on the timeline, but it was much more fun animating in Moho than in after effects.
I used warp layers for the first time to simulate a little body turn, it's subtle but adds a bit of dimension.
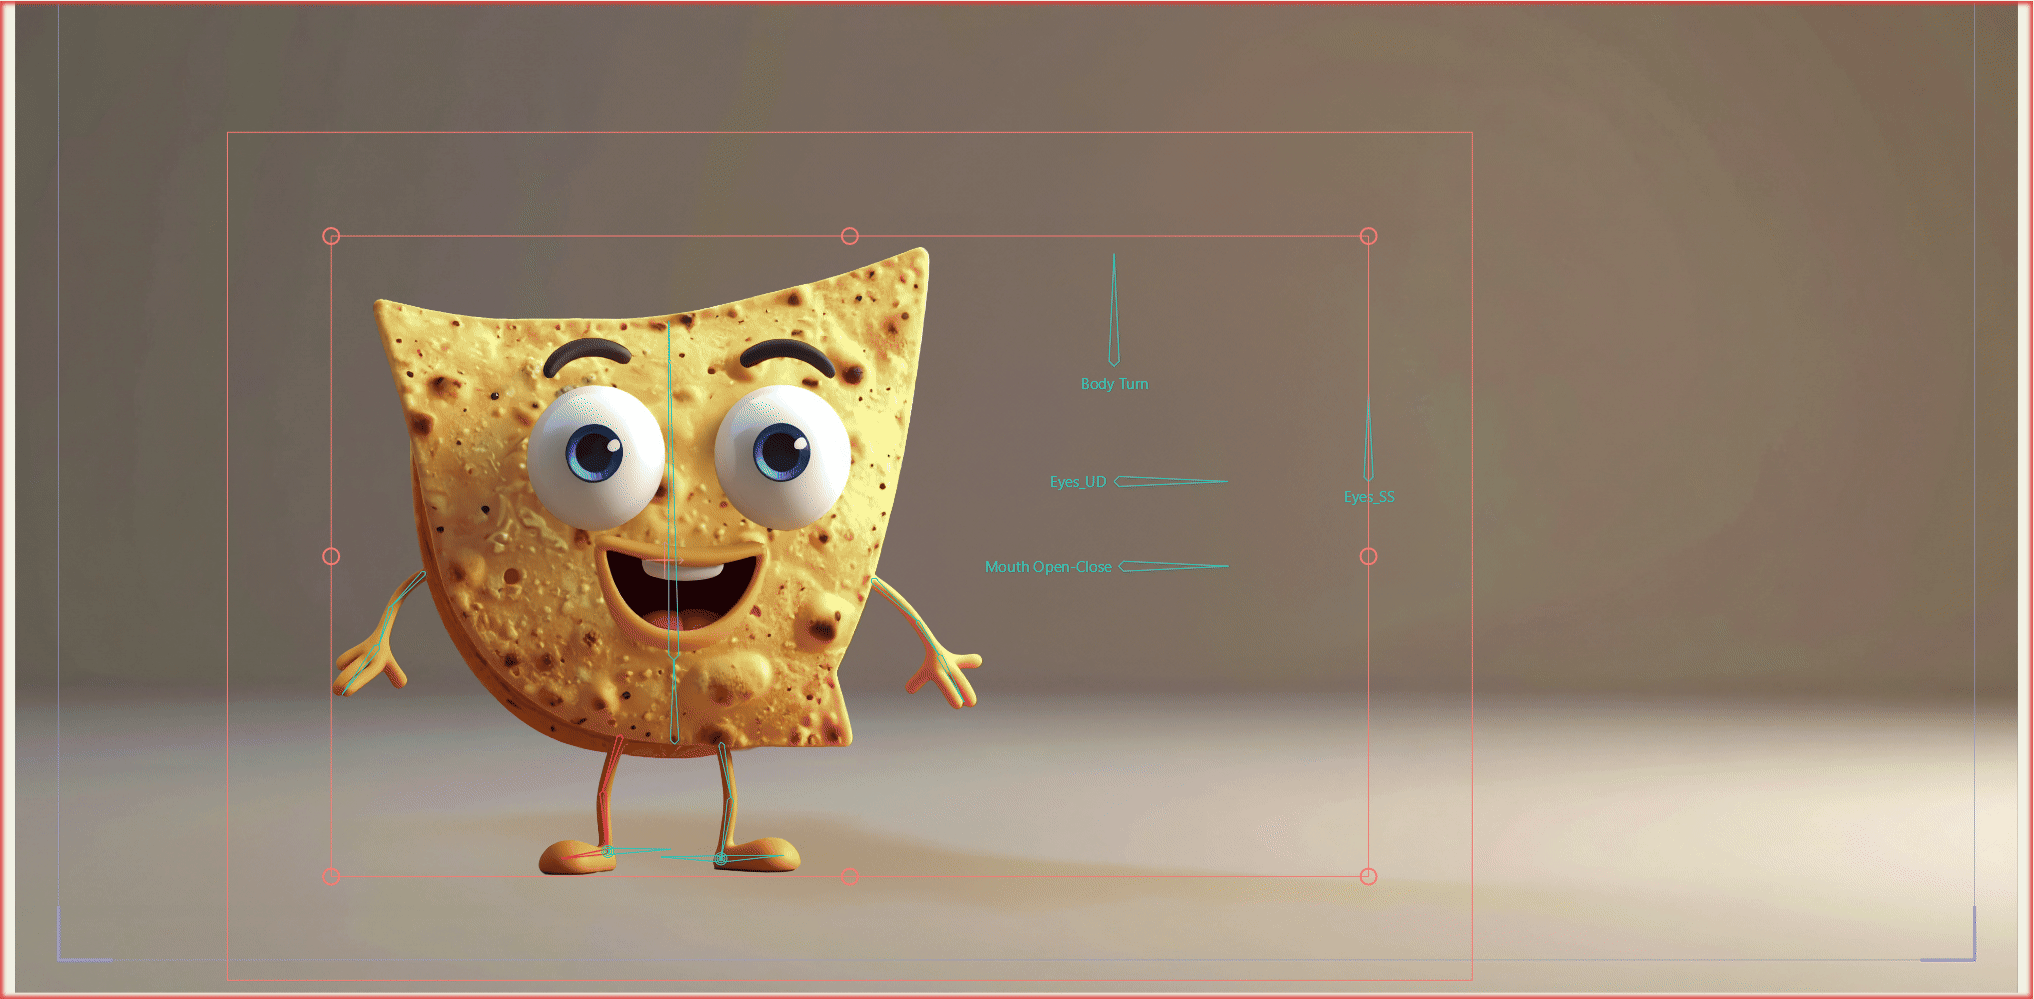
Overall I really like the lower frame rate animation. I feel like I can be a little more loose when animating and I enjoy the snappy eye movement.
I can see this going further using the Vitruvian bone system to swap out limb angles so the hands and feet don't have to stay from the same perspective.
Keyhole Ken Cartoon Character
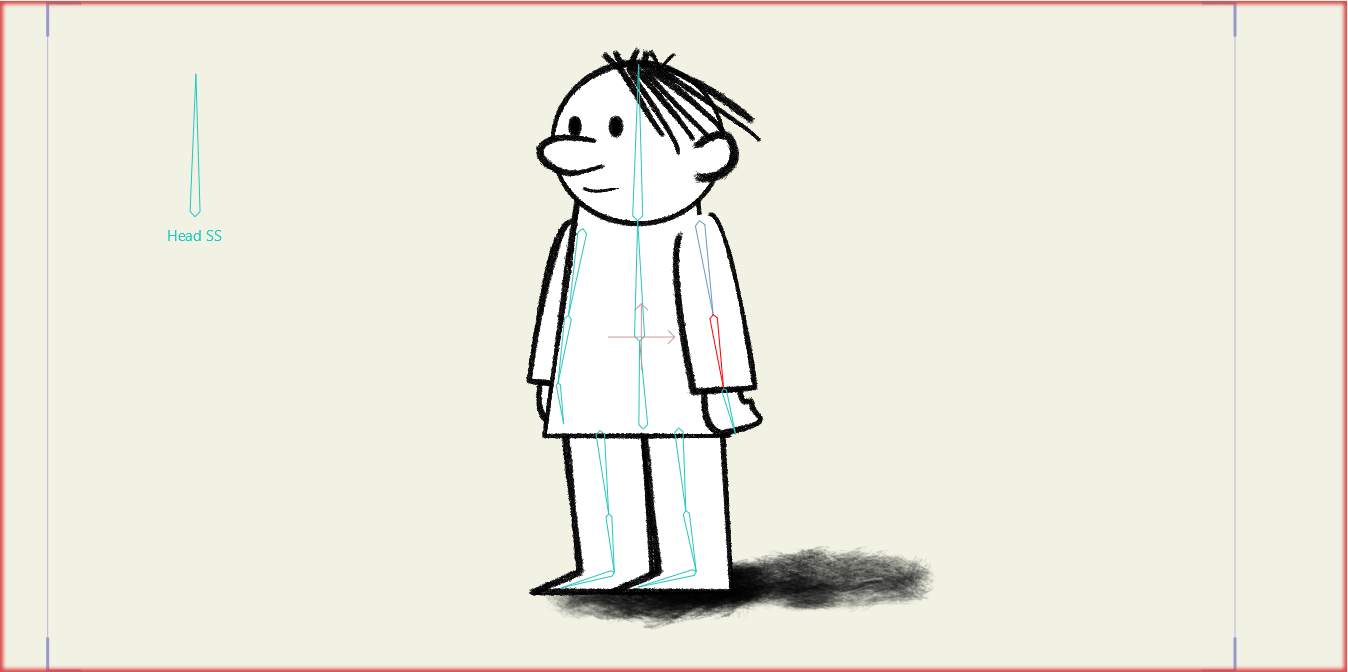
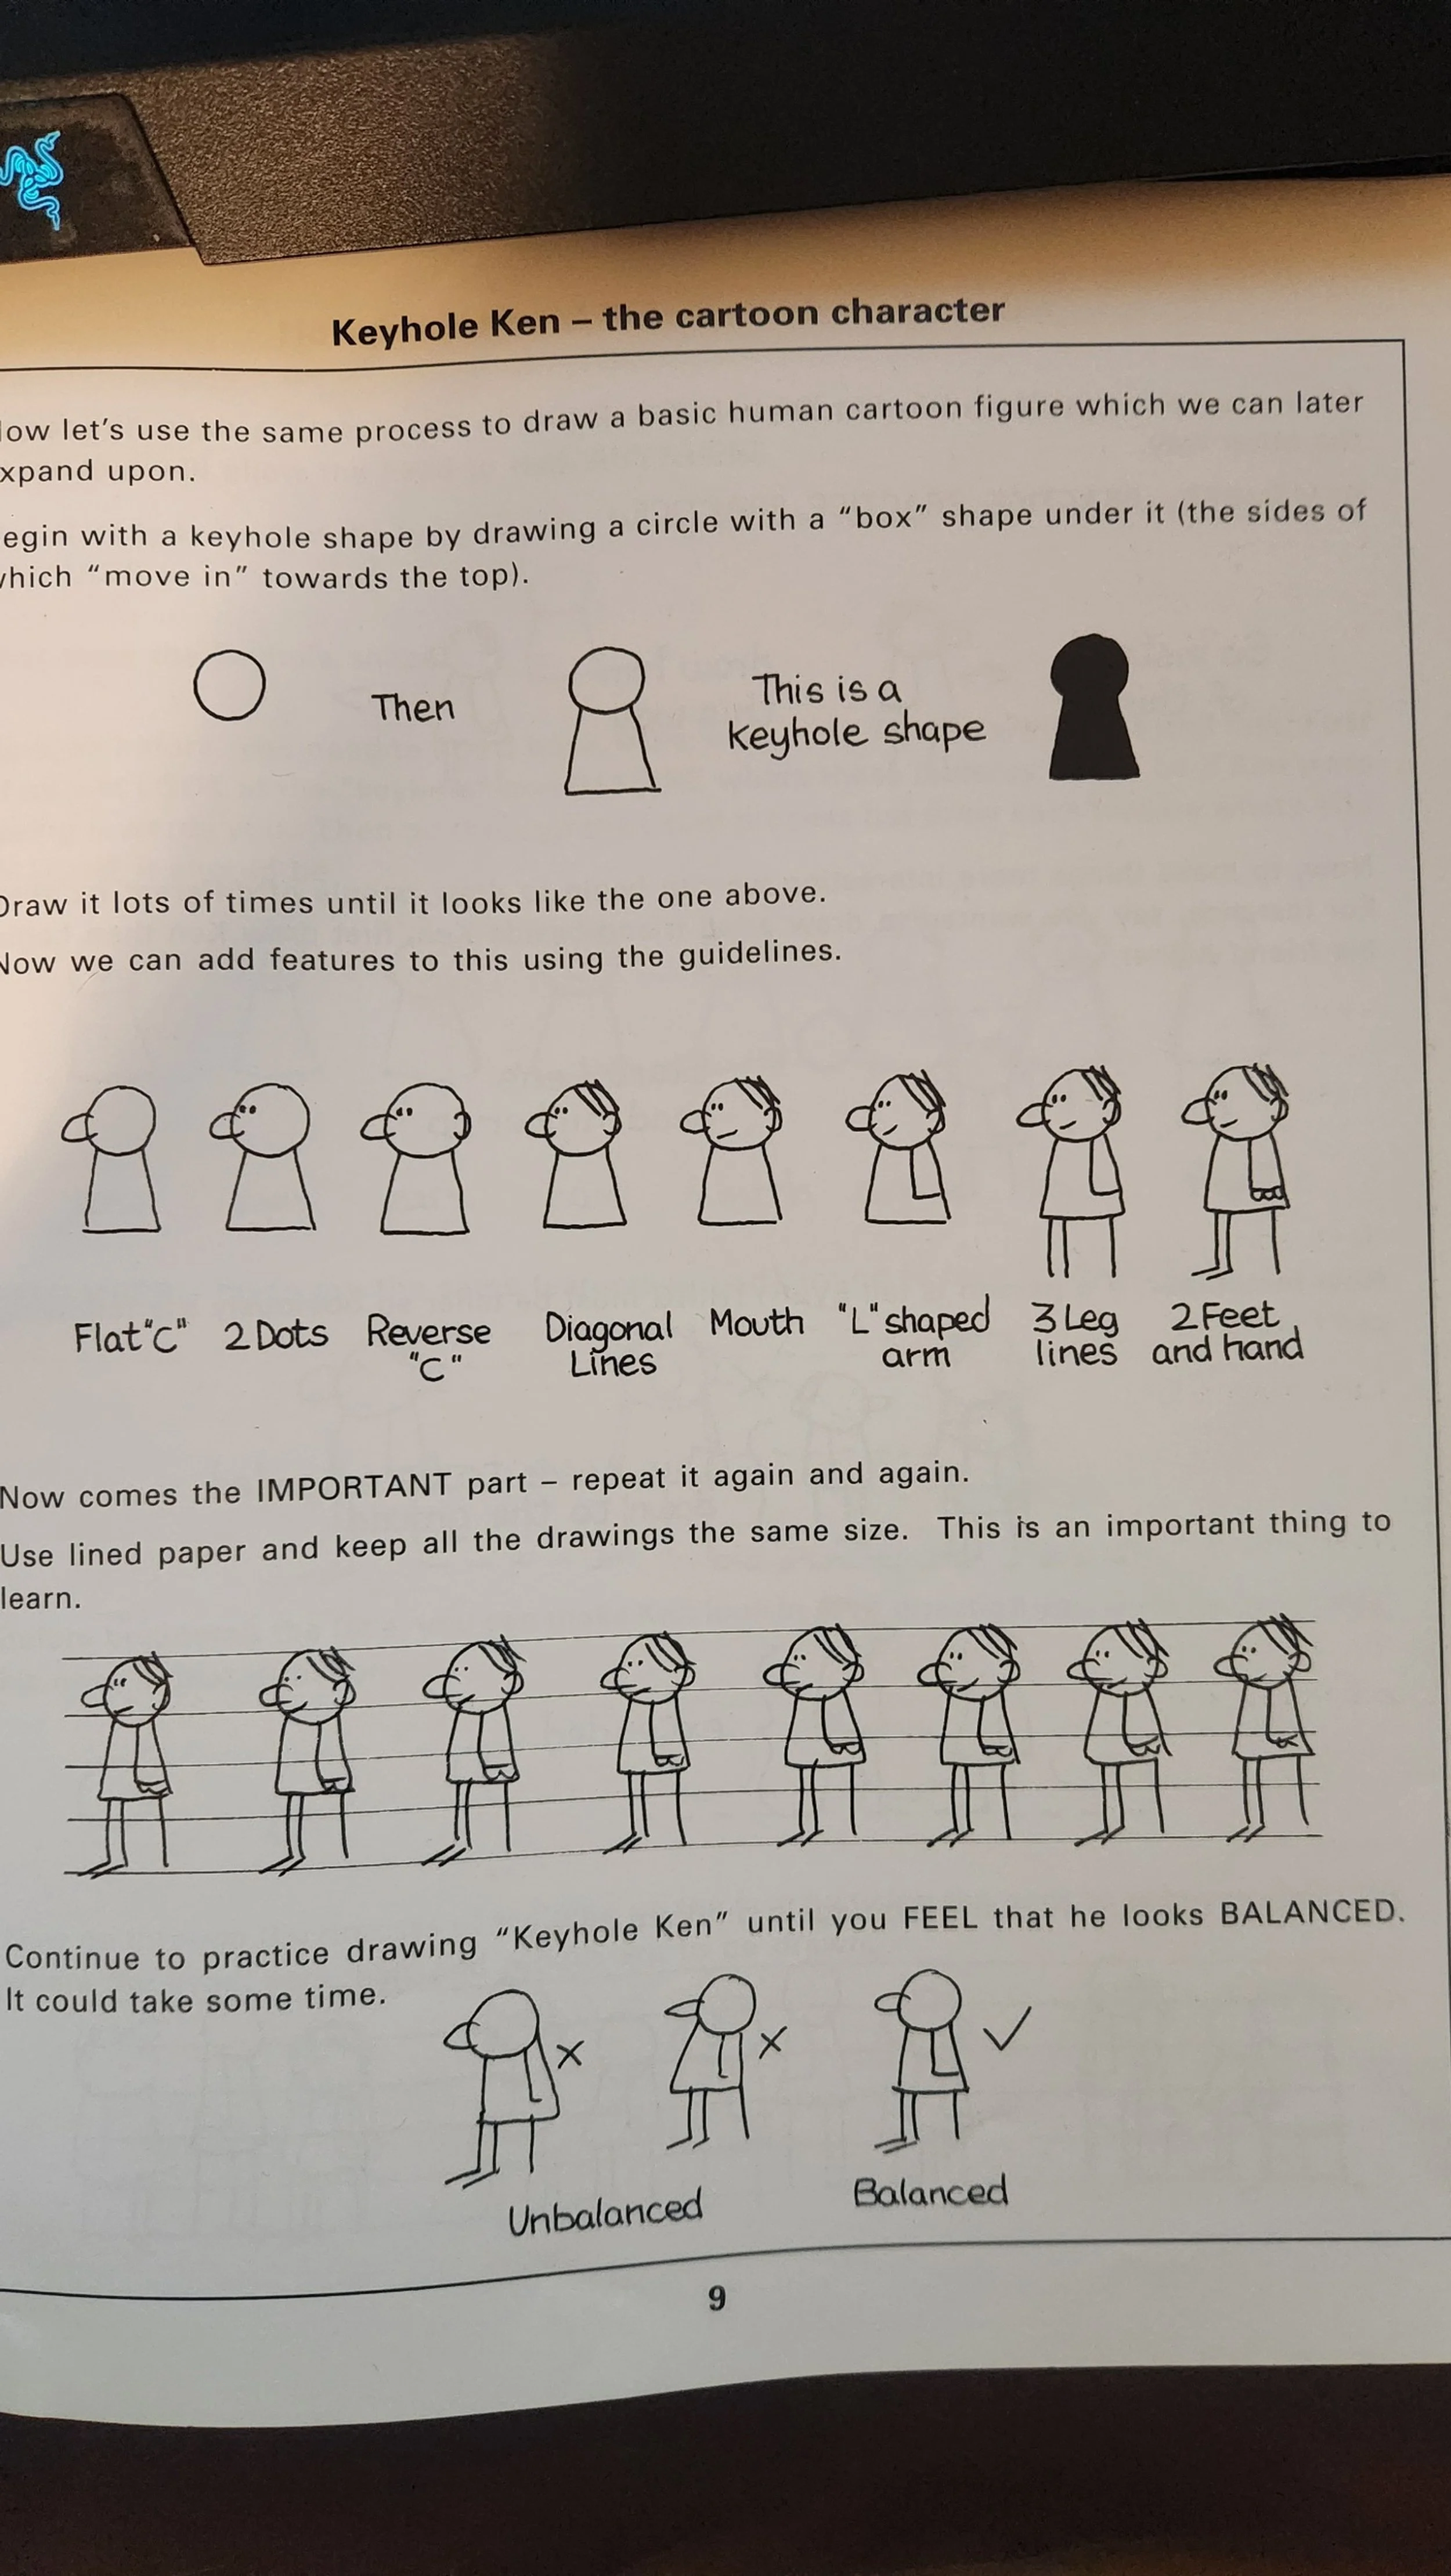
For this practice project I wanted to try something that makes use of the line boil feature in the stroke styles. I went to my bookshelf and pulled this book out. I picked it up for about .99 cents at a thrift store. After flipping though it the keyhole Ken character felt pretty perfect for this example. I can just keep him white with black line work and not really worry about shading for this.
Automatic Line Boil and Switch layer panel
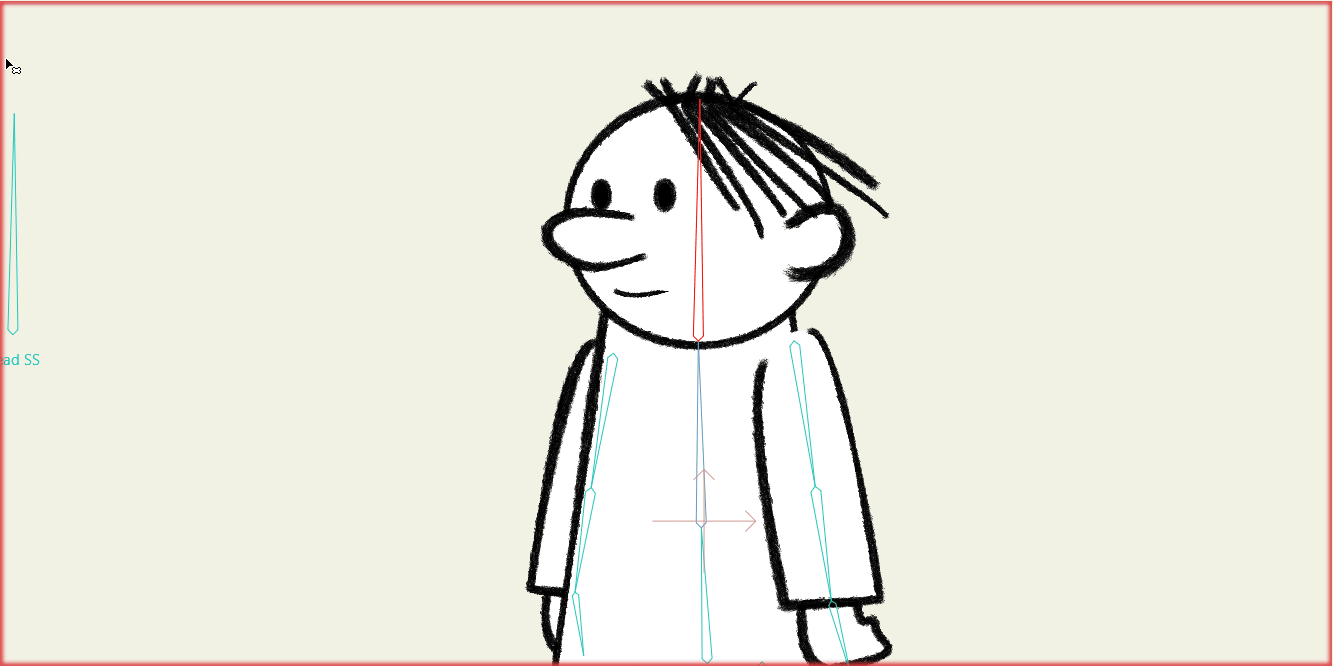
I kept this character animating on twos and with the line boil feature set to 0FPS it only animates the line work, when that specific piece of artwork moves, so it gives the illusion of only those parts being redrawn instead of the whole artwork. I also experimented with using a switch layer for his mouth. I haven't done anything with lip syncing yet so I played around with the pop out switch layer panel as well.


Overall I’m pretty happy with what I have been able to learn with these couple tests. I’m looking forward to playing around more in the software and experimenting.
Leave a comment if you have any questions on anything in this post or want to see more of anything specifically.